

-No need for Powershell to activate Direct Routing/Operator Connect
-Automatically assign license for Direct Routing/Operator Connect Users
-Multitenant supported (March 2026)
-Public API (March 2026)
Phone Number Manager
Microsoft Teams Numberplan
01
Manage your Phone Numbers Easy
With EasyUC Numberplan for Microsoft Teams you get a graphical Numberplan. You can easily see which numbers are already used or are free to use.
Assign/Unassign Numbers
Locate free Numbers and Assign/Unassign Users in the simplest way
No Powershell needed
Without Numberplan from EasyUC you need to use Powershell to enable Direct Routing. With EasyUC Numberplan, there is no need to do this anymore.
Multitenant Support
You manage several Microsoft tenants? You can simply switch between tenants with a single click.
EasyUC Phone Number Manager for Microsoft Teams
Simplify Dial Plan Management and End the PowerShell Struggle
With the EasyUC Numberplan for Microsoft Teams you can assign or unassign Users from Phone Numbers as easy as it could be. There is no need anymore to use Powershell to enable Users for enable direct Routing.
Get a visual Numberplan
Filter for free or used numbers and assign them to users of your choice by a few clicks
Assign User to Numbers
When found a free phone number, simply assign it to a user of your choice
Unassign User from Numbers
Search the user from should get unassiged, get the phone number and click on unassign user
User visability by Location
Configure Phone Number Manager to show a Helpdesk User from New York only Microsoft Users from New York. Or assign him location New York and Los Angeles. Assign each Helpdesk user the locations he should see.
Multitenant Support
If you are a Service Provider which manage many Tenants, get EasyUC Numberplan for each Tenant and simply switch between Tenants - Release in March 2026
Public API
Use Phone Number Manager to Setup Users by external Applications like ServiceNOW - release in March 2026


Phone Number Manager
will help your Organisation
For Organisations who assign Numbers including Direct Routing/Operator Connect
For organizations that assign phone numbers, including those using Direct Routing or Operator Connect, effective and well-structured number management is essential. This involves not only the technical provisioning of telephone numbers, but also their accurate assignment to users, services, or locations. Proper planning and administration help ensure reliable communication, compliance with regulatory requirements, and efficient ongoing operations.
For Organisations who assign Numbers to Business Phone field
Our solution enables organizations to delegate the assignment of phone numbers in a secure and controlled way. For example, the Human Resources department can use the solution to independently assign phone numbers to users without requiring direct involvement from IT. Access can be restricted based on roles and locations, ensuring that HR personnel only see and manage the sites and users relevant to their responsibilities. This role-based and location-specific access model prevents unauthorized visibility and guarantees that sensitive information remains protected, while still allowing teams to work efficiently and autonomously.
How EasyUC Phone Number Manger can help your Organisation
Phone Number Manager
for Business Phone field only
Our solution enables organizations to delegate the assignment of phone numbers in a secure and controlled way. For example, the Human Resources department can use the solution to independently assign phone numbers to users without requiring direct involvement from IT. Access can be restricted based on roles and locations, ensuring that HR personnel only see and manage the sites and users relevant to their responsibilities. This role-based and location-specific access model prevents unauthorized visibility and guarantees that sensitive information remains protected, while still allowing teams to work efficiently and autonomously.
Phone Number Manager
for Operator Connect or Direct Routing
For organizations that assign phone numbers, including those using Direct Routing or Operator Connect, effective and well-structured number management is essential. This involves not only the technical provisioning of telephone numbers, but also their accurate assignment to users, services, or locations. Proper planning and administration help ensure reliable communication, compliance with regulatory requirements, and efficient ongoing operations.
Number assignment to Microsoft Teams User
How to Assign Number
Example: Assign User to Number
Here you see a quick and simple example how to assign a free number to a user.
Get Numberplan Overview
You see the Numberplan and find a free Number. Now you easily assign a User.
Find a User
After you found a free Number, find and assign a User
User Found - Save
If found a user, simply click on Update and the Number is assigned.
Finished
Number is assign to User. If direct Routing is enabled in our App, then also Direct Routing is configured.
In this example, we select a phone number from the number plan and assign it to a user. To do this, click Assign User next to the desired number and search for the appropriate user. Once the user has been selected, click Update to apply the assignment. The configuration is then complete.
Number assignment to Microsoft Teams User
How to Assign Number
Example: Assign Number to User
Here you see a quick and simple example how to assign a free number to a user.
Get User Overview
You see all Users as default. If you have only access to a specific Location, you will see only the Users for the specified Locations.
Find a User
After you found a free Number, find and assign a User
User Found - Save
If found a user, simply click on Update and the Number is assigned.
Finished
Number is assign to User. If direct Routing is enabled in our App, then also Direct Routing is configured.
This section illustrates the process of assigning an available phone number from the Hamburg location to a user. Initially, the user does not have a phone number assigned. Therefore, the first step is to assign a free phone number from the Hamburg location. Only available numbers are displayed, ensuring that any listed number can be selected.
Since the user did not yet have the required license, it was assigned in the next step. After assigning the license, we attempted to enable external telephony. This initially resulted in an error. The error message indicated that the operation failed because the license assignment had not yet been fully applied.
This behavior occurs because the configuration change had not yet been fully processed within the Microsoft system. Typically, Microsoft requires approximately 30–60 seconds to propagate this information. After a short wait, the operation was retried and external telephony was successfully enabled without any errors.
Pricing
Easy Numberplan for Microsoft Teams
- All Tenant Sizes
- Assign Numbers
- Unassign Numbers
- No need for Powershell anymore
- Get 20% Discount for yearly subscription
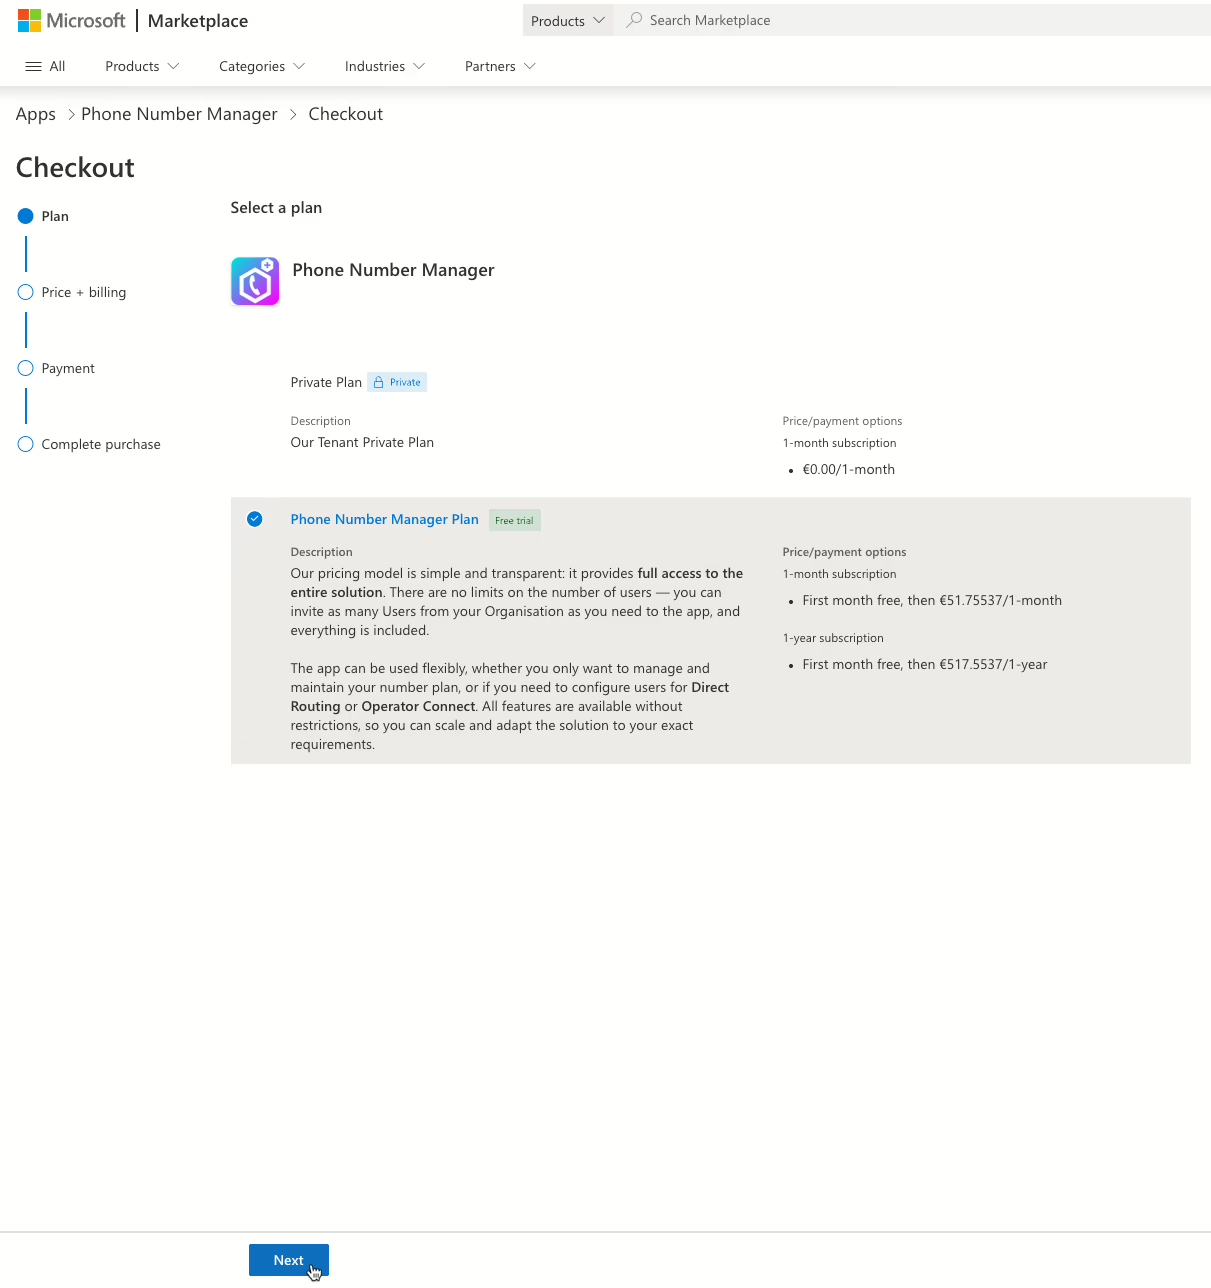
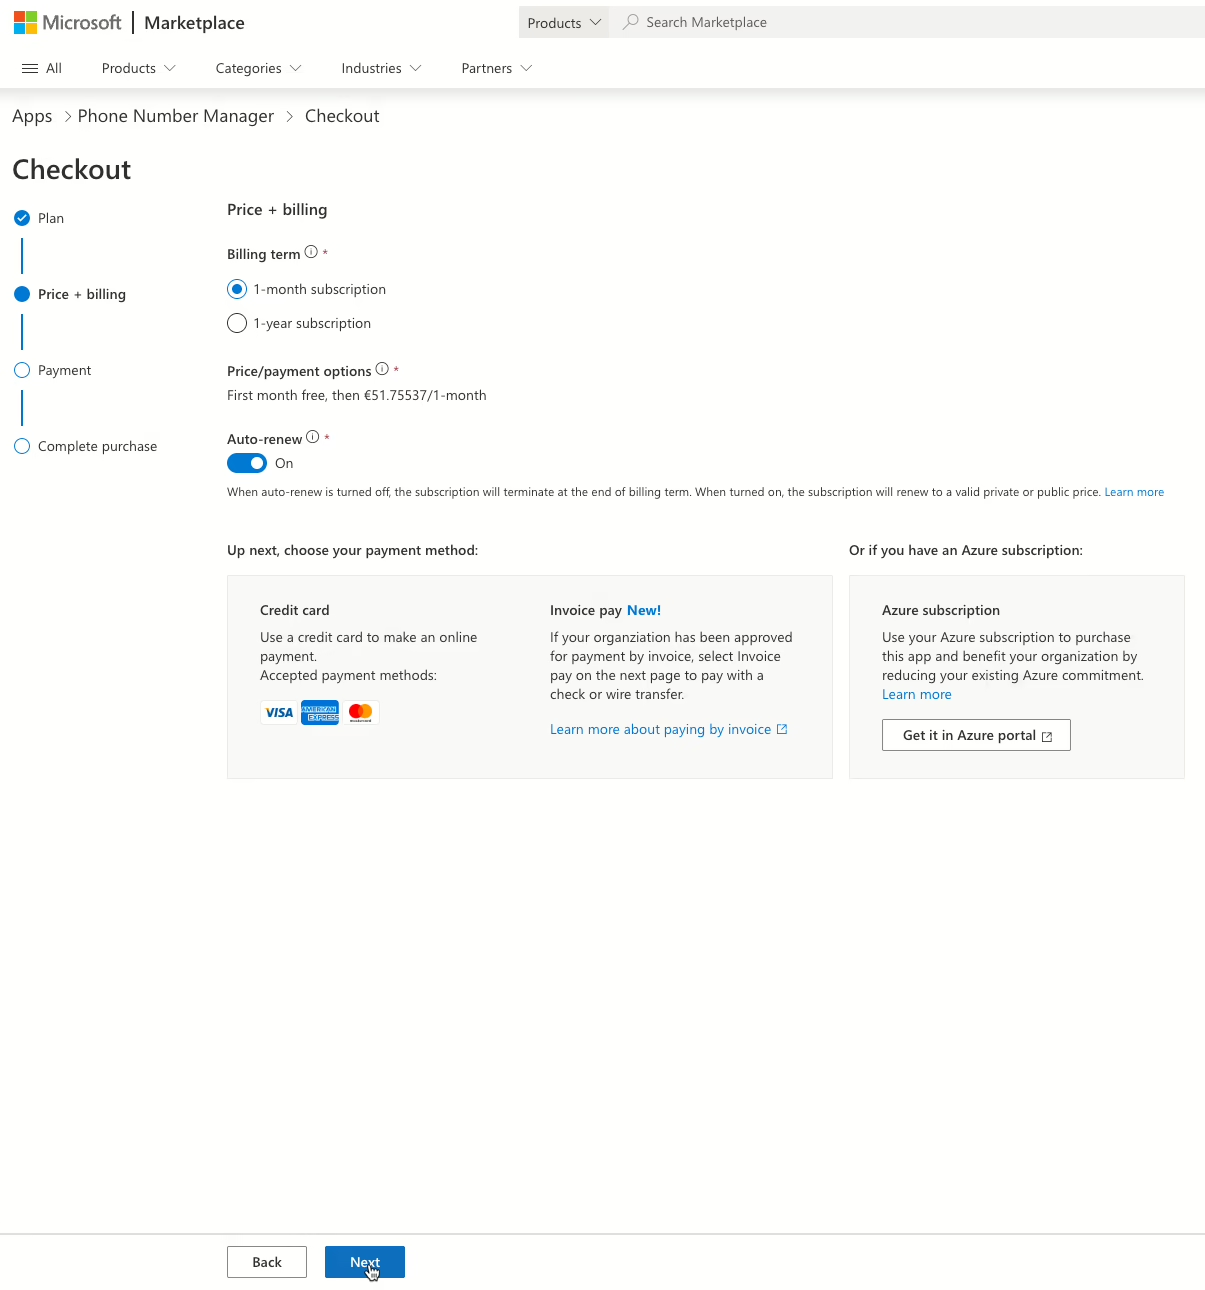
Subscribe to Phone Number Manager App
How to Subscribe to our Microsoft Teams Phone Number Manager
To use our Phone Number Manager, first you need to subscribe to our application. You will find us in Microsoft Marketplace.
Phone Number Manager in Microsoft Teams Marketplace


Basic Setup
How to Setup
Configure Organisation
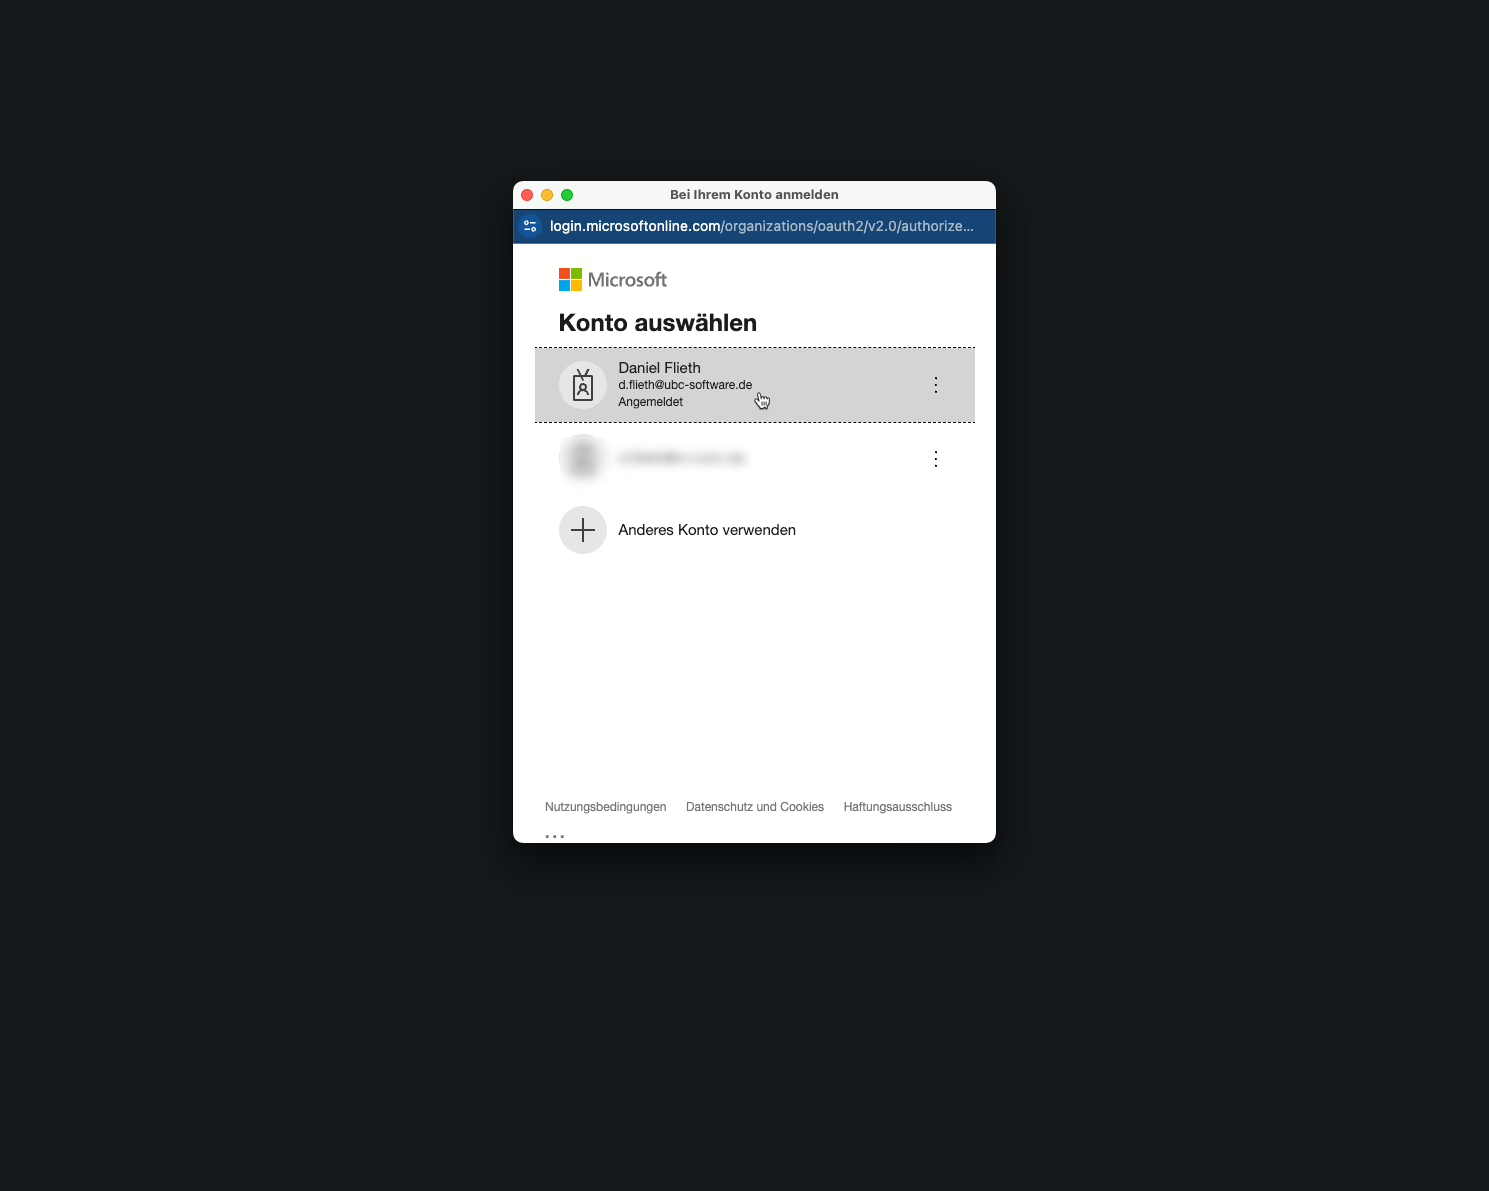
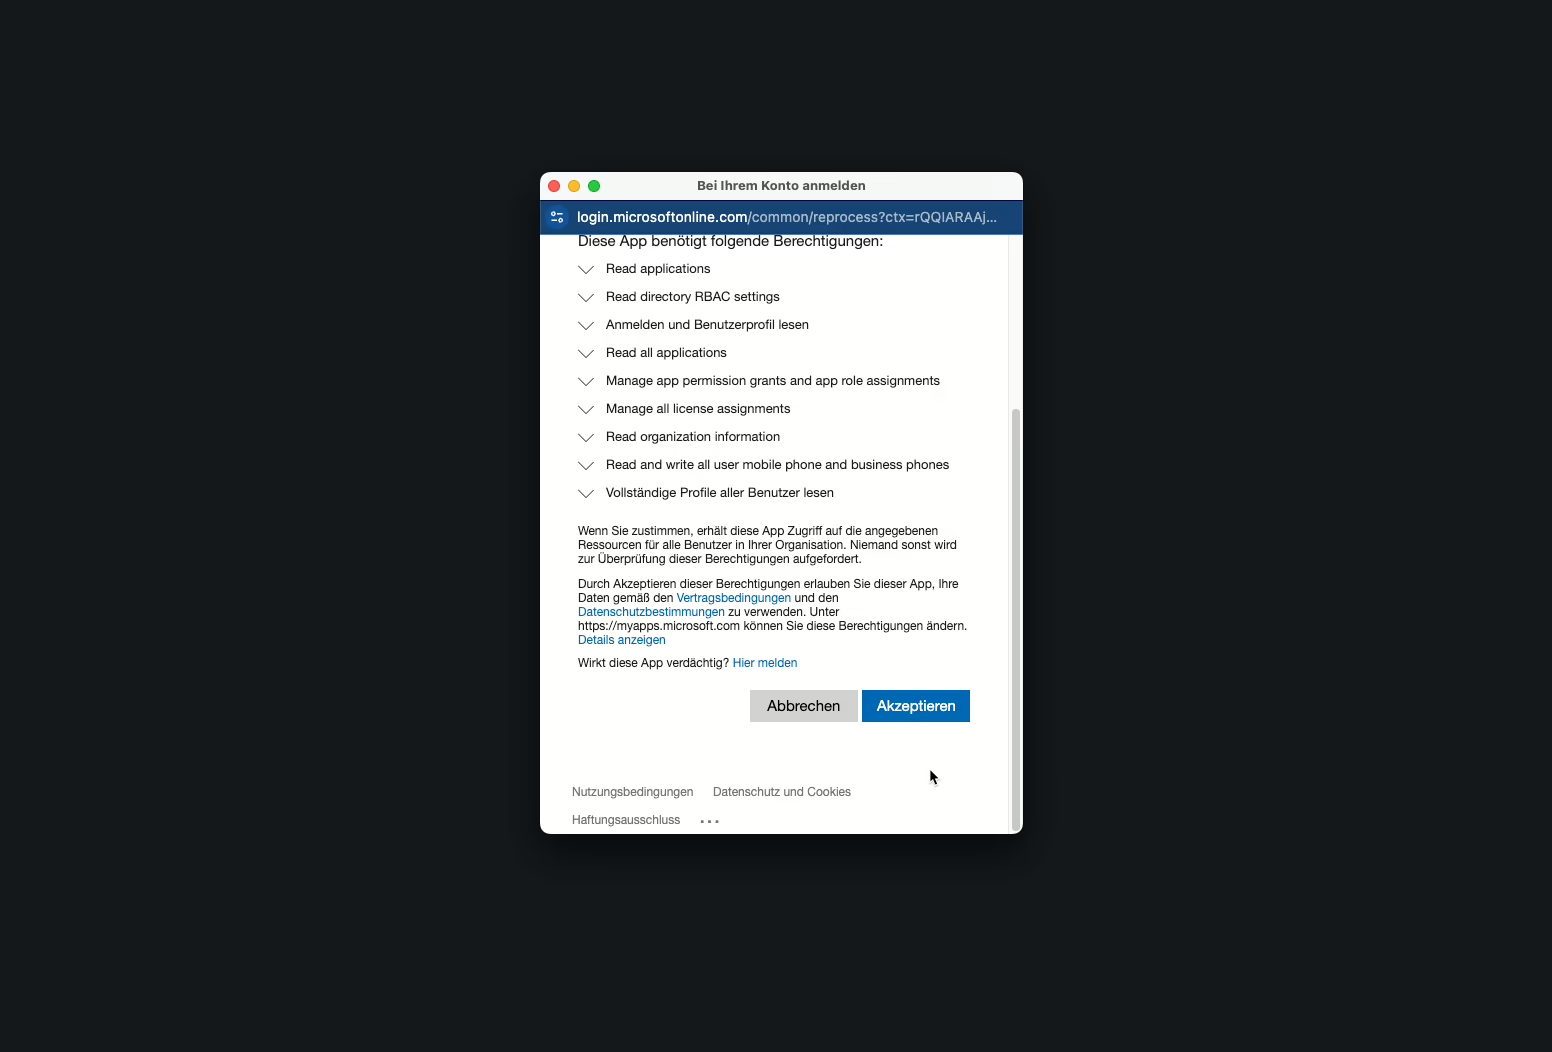
After the initial successful login to our application, you must assign the application to the Teams Telephony Administrator role in Microsoft Entra. Once this role assignment has been completed, the basic configuration is finalized.
First, navigate to Organizations. There, you will find a link to the Teams Telephony Administrator role page.
Next, select Add assignment, search for Phone Number Manager, select it, and confirm the action by clicking Add.
As a final step, the Phone Number Manager must acknowledge the role assignment by selecting Actions → Recheck to ensure the permissions are applied correctly.


Create Location
Create Locations to be able to manage your Numberplan
To set up the Phone Number Manager, you must first configure your locations. To do so, click New Location. In the dialog that appears, enter the name of the location at the top. You may choose any name that fits your organizational structure.
Optionally, you can enable the automatic assignment of a Teams Phone license when a phone number is assigned to a user. This option is particularly relevant for customers who use Microsoft 365 E3 licenses and assign the Microsoft Teams Phone Standard license separately for telephony.
If your organization uses Microsoft 365 E5 licenses, this option is not required, as the Teams Phone license is already included.
For customers using E3 licenses in combination with the Microsoft Teams Phone Standard add-on: if an insufficient number of telephony licenses is available, an error will occur when attempting to enable external telephony for a user. The dashboard provides visibility into how many licenses are still available.
Next, define which number ranges belong to the location. You can assign multiple number ranges to a single location if required.
Below the number range configuration, you will find the Number Assignment option. This setting determines how phone numbers are configured when assigned to users. The available options are:
• Only to Business Phone
• To Business Phone and enable Direct Routing
• To Business Phone with option to enable Direct Routing
• To Business Phone and enable Operator Connect
• To Business Phone with option to enable Operator Connect
The Only to Business Phone option is intended for customers who use the Phone Number Manager solely to visualize their number plan and assign numbers to users. With this option, no external telephony settings are applied. This is particularly useful when enabling departments such as HR or IT to view available numbers and assign them to users.
This approach is also beneficial in multi-location environments, where local administrators manage number plans for specific sites. For example, users in New York may only see numbers assigned to New York, while users in Singapore may see only Singapore numbers—or a combination of both—depending on the configured permissions.
The Direct Routing options ensure that the phone number is written to the Business Phone field while also configuring all required settings for external telephony via Direct Routing.
• With To Business Phone and enable Direct Routing, the number is automatically configured for Direct Routing.
• With To Business Phone with option to enable Direct Routing, the administrator can decide during each number assignment whether Direct Routing should be enabled for that specific number.
The Operator Connect options function in exactly the same way, with the difference that the number is configured for Operator Connect instead of Direct Routing.
As a final step, specify which Calling Policy and Emergency Calling Policy should be applied to users at this location.


Location visability
Configure and manage user access to designated locations.
First, you must enable the ability to assign users to locations in the general user settings. To do this, navigate to Administration, open Settings, and then select Users. Enable the option “Show Users per Location.“
Next, navigate to the Location Configuration, select a location, and click Edit, as shown in the screenshot. You will now see the option “Enable User Settings?”. After enabling this option, you can define which user attribute and value are used to associate users with this location.
In this example, users located in New York are identified by the value “New York” in the City field of the Microsoft user profile. Enter New York in the Value field and press Enter. You may also add an additional value, such as Manhattan, so that users with either New York or Manhattan in the City field are assigned to the New York location.
Once this configuration has been completed for all locations, navigate to the Users section. You can now filter users by location. Additionally, you are able to restrict users who are intended to use the Number Plan Manager so that they only see and manage the locations they are authorized to access.


Enable Users to Access the App
See how you enable Users from your Microsoft Tenant to access our Solution
To allow users to access and use our solution, they must first be defined as Application Users. To do this, navigate to the Application Users section. By selecting Assign User, you can search for and add the required users.
After selecting a user, you have the option to restrict their access to specific locations. To do so, click Assign Locations and choose the locations the user should be allowed to access.
If the Assign Locations option is not enabled, the user will have visibility into all users and all number ranges within the system.
Users assigned the Helpdesk role do not have access to the administration areas. They are limited to viewing and managing only the Dashboard, Users, and Number Plans sections.


